Grab My Blinkie

Favorite Scrap Stores


Showing posts with label Scrappin' Krazy Designs. Show all posts
Showing posts with label Scrappin' Krazy Designs. Show all posts
Tuesday, September 25, 2012
A Rock Star Life

A Rock Star Life
Supplies:
Tube - I'm using the art of Ricky Fang. You must have a license to use his art and you can purchase tubes/license at AIL.
Scrap Kit - I'm using a great PTU kit from Kaci of Scrappin Krazy Designs called "Rock and Roll". Visit her blog HERE to find out where you can purchase this great kit.
Mask of choice - I'm using one by Vix
Font - I'm using Sick Capital Vice
To begin open your mask and tube in PSP - minimize for now - new 700 x 700 image white background
1. Copy/paste discoball as a new layer - resize if needed and position towards the top center of canvas - drop shadow
2. Copy/paste metal doodle as a new layer - position on the top left of canvas - duplicate - image - mirror - image - flip - drop shadow both layers
3. Copy/paste frame 2 as a new layer - position in center of canvas - click inside frame with magic wand - selections - modify - expand by 6 - copy/paste a paper of choice as a new layer - selections - invert - delete - move below frame layer and copy/paste your tube as a new layer - resize and position in frame - hit delete - selections - select none - on tube layer change properties to luminance (l) and drop shadow tube and frame
4. Copy/paste flames 1 as a new layer - position on right side of tag - drop shadow - copy/paste double guitars as a new layer and position over flames - drop shadow
5. Copy/paste speaker 1 and speaker 2 as new layers - resize and position on the left side of tag - drop shadow both layers - copy/paste flames 1 again - position over speakers -drop shadow
6. Copy/paste your tube as a new layer - resize and position on tag - copy/paste mic 1 as a new layer - resize and rotate - position on tag so it appears that your tube is holding it in her hand using eraser tool as needed - drop shadow tube and mic layers
7. Copy/paste music glitter as a new layer and position along the bottom of your tag - drop shadow - copy/paste hat 1 as new layer - resize and rotate positioning so it appears to be hanging on the guitars - drop shadow
8. On white background - copy/paste another paper of choice - layers - new mask layer - from image - apply mask and delete original mask layer - merge group
9. Close out white background - crop/resize tag - add copyright/license info and name - save as .png
That's it!! Thank you for trying my tutorial!!
Thursday, September 20, 2012
Witches & Ghosts, Oh My!!
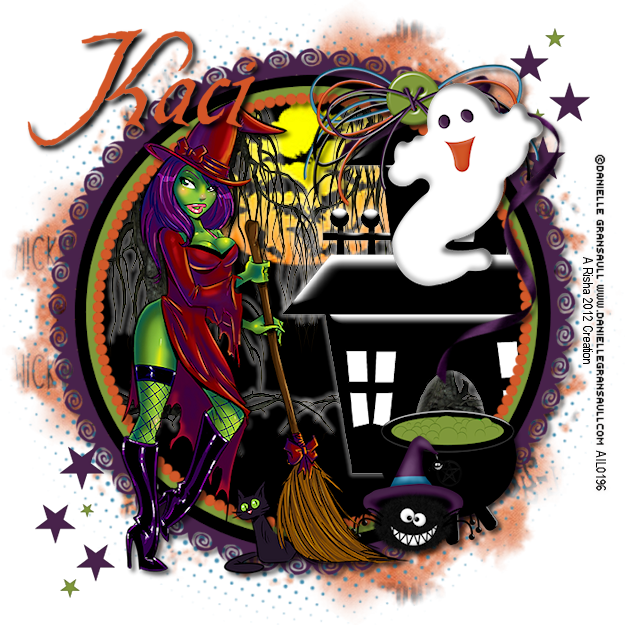
Witches & Ghosts, Oh My!!
Supplies:
Tube - I'm using the art of Danielle Gransaull. You must have a license to use her art. You can purchase tubes/license at AIL.
Scrap Kit - I'm using a great PTU kit by Scrappin' Krazy Designs called " One Trick Witch". Visit Kaci's blog HERE to find out where to purchase.
Mask of choice
Eye Candy 5 - gradient glow
Font - I'm using Be Safe
To begin open your tube and mask in PSP - minimize for now - open a new 700 x 700 image white background
1. Copy/paste frame 1 as a new layer - resize and center in canvas - click inside with magic wand - selections - modify - expand by 6 - layers - new raster layer - floodfill black - move below frame layer - selections - invert - leave selected
2. Copy/paste the following, resizing as desired, and position inside frame : bats, haunted house, tree 1 - hit delete on keyboard on each layer - selections - select none - add a light gradient glow to each layer color white ( you can also drop shadow each layer changing color to white)
3. Click on frame layer - copy/paste any other elements you desire and position around your frame - resize if needed and drop shadow - have fun! There are lots of amazing elements to work with
4. On white background - copy/paste halftone as a new layer - using pick tool stretch slightly larger than frame
5. Copy/paste stars as a new layer - resize and position to the top of canvas - duplicate - image - flip - drop shadow both layers
6. Back on white background - copy/paste a paper of choice as a new layer - layers - new mask layer - from image - apply your mask and delete original mask layer - merge group
7. Close out white background - crop/resize tag ( i resize to 625 pixels on largest side) - add copyright/license info and name - save as a .png
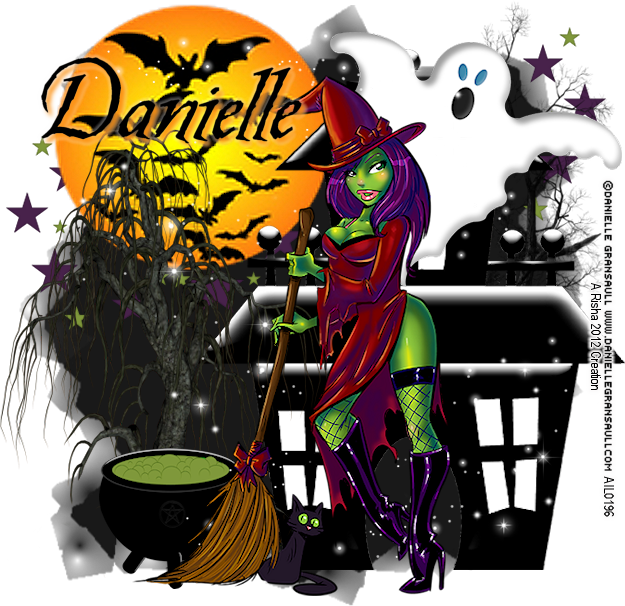
Here is another tag I did using the same tube and kit:
Thursday, August 16, 2012
PTU TUT : RockABilly

This tutorial was written by me on August 16 using PSP X4. All my tutorials assume you have some working knowledge of PSP and/or Animation Shop.
Supplies :
Tube of choice - I'm using the wicked art of Shayne Bohner. You must have a license to use this image. You can purchase tubes and a license from Artistically Inclined Licensing.
Scrap Kit - I'm using a couple of PTU kits from Kaci @ Scrappin' Krazy Designs called "Rockabilly" and "Rockabilly Wedding" . Visit her blog HERE to find out where to get these great kits.
Font of choice - I'm using A Gothique Time
To begin open your tube in PSP and minimize
1. Open a new 700 x 700 blank image white background - we are going to create the background for your frame - c/p ele25 from "Rockabilly" - center in canvas - c/p the following elements and layer them ele37, ele38, and ele71 - resizing ele71 and positioning towards bottom of background
2. Copy/paste ele55 from "Rockabilly Wedding" as new layer - drop shadow - c/p your tube as new layer - duplicate - move duplicate below frame layer
3. With your eraser tool - erase the parts of each tube layer you do not want showing - drop shadow bottom tube layer only
4. Copy/paste ele72 as new layer - resize - position on bottom of tag - drop shadow
5. Copy/paste ele41 as new layer - resize - position on bottom of frame - drop shadow
6. Copy/paste the following elements ele12, ele40, and ele68 - resize - arrange on bottom of tag
7. Close out white background - crop/resize tag - add copyright/license information and name - save as .png
That's it! Pretty easy and would love to see what ya do with my tutorial!
Subscribe to:
Posts (Atom)
About Me

- Risha
- Vernon, Florida, United States
- Hello! I'm a SAHM of 2 beautiful children Wyatt & Caitlyn and have been married to my wonderful husband Everett for 9 years. I live in a small town in NW Florida and am owned by several miniature dachshunds. I've been PSPing for 7 years now and just now decided to put my tags into tutorial form. When I'm not busy taking care of my various animals which not only is dachshunds, but includes various types of fowl and poultry I am playing with my kids or at my computer.
Licensing


