Grab My Blinkie

Favorite Scrap Stores


Showing posts with label Keith Garvey. Show all posts
Showing posts with label Keith Garvey. Show all posts
Friday, September 14, 2012
Day Dreamer
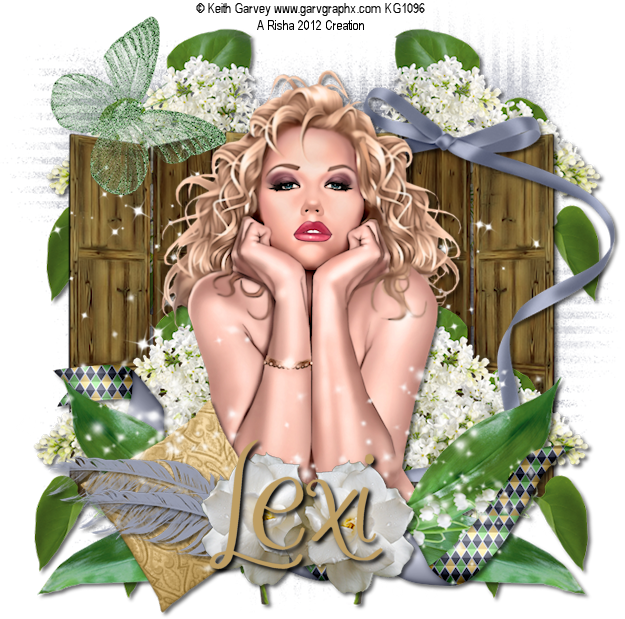
Day Dreamer
This tutorial was written by me on September 14 using PSP X4. All my tutorials assume you have some working knowledge of PSP and/or Animation Shop.
Supplies:
Tube - I'm using the art of Keith Garvey. You must have a license to use his art. You can purchase tubes/license at his store HERE.
Scrap Kit - I'm using a beautiful PTU kit from Lexi Creationz called "Autumn Solstice". Visit her blog HERE to find out where you can purchase this beautiful kit.
Mask - I'm using WSL mask 81. You can get this mask HERE.
Font - I'm using MA Sexy
To begin open your tube and mask in PSP - minimize for now - new 700 x 700 image white background
1. Copy/paste your tube as a new layer - center in canvas resizing if needed - drop shadow
2. Click on white background - copy/paste el8 as a new layer - resize if desired - position on the right side of your tube - duplicate - image - mirror - drop shadow both layers and merge down - duplicate - move this layer towards the top of tag
3. Click on bottom flowers layer - copy/paste EL18 as a new layer - resize and position on right side of tag - duplicate - image - mirror - drop shadow both layers
4. Copy/paste EL5 as new layer - resize and rotate - image - mirror and position on right side of tag - drop shadow
5. Copy/paste AS30 as new layer - position - click on tube layer
6. Copy/paste EL9 as a new layer - rotate and resize - position on bottom right of tube - duplicate - image - mirror - drop shadow both layers - click on bottom leaf layer - copy/paste EL4 as new layer - position and drop shadow
7. Copy/paste EL16 as new layer - resize and rotate - position on left side of leaves - drop shadow
8. Copy/paste EL15 as new layer - position over pillow element - duplicate - image - resize - position and drop shadow both layers
9. Copy/paste EL22 as a new layer - resize and position on the right side of pillow element - duplicate - image - mirror - drop shadow both layers
10. Copy/paste EL 20 as a new layer - resize if desired and position on tag - drop shadow
11. Copy/paste EL29 as a new layer - position along bottom of tag
12. On white background - copy/paste paper of choice as new layer - layers - new mask layer - from image - apply mask and delete original mask layer - merge group
13. Close out background - crop/resize tag - add copyright/license and name - save as .png
That's it!! Thank you for trying my tutorial!!
Sunday, September 9, 2012
Kiss Me Softly
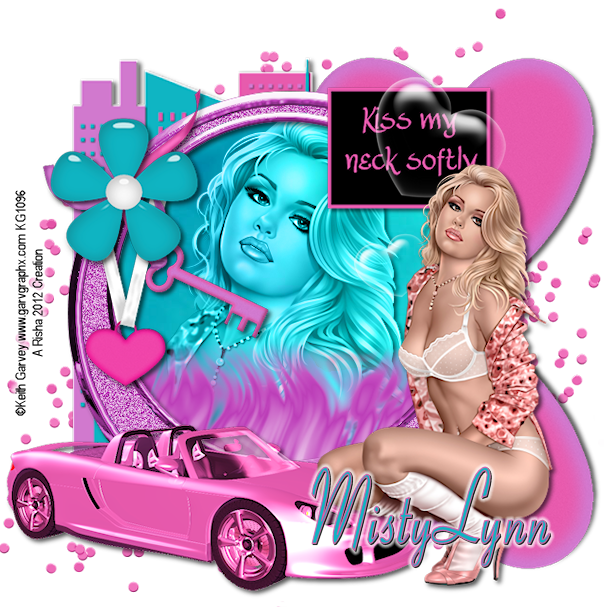
Kiss Me Softly
This tutorial was written by me on September 9 using PSP X4. All my tutorials assume you have some working knowledge of PSP and/or Animation Shop.
Supplies:
Tube(s) of choice - I'm using the art of Keith Garvey. You must have a license to use his art which you can purchase at his store HERE.
Scrap Kit - I'm using a great PTU kit from MistyLynn's Creations called "Seduction". Visit her blog HERE to find out where you can purchase this great kit.
Font - I'm using Aspire
To begin open up your tube in PSP and minimize - new 700 x 700 image white background - This is an easy, breezy tut so let's get started:
1. Copy/paste skyline as new layer - resize - position on tag - center in canvas - add drop shadow
2. Copy/paste frame 01 as new layer - center in canvas - click inside with magic wand - selections - modify - expand by 8 - copy/paste paper of choice as new layer - selections - invert - delete - copy/paste tube as new layer - position in frame resizing if needed - delete - add drop shadow and change properties to Luminance(L) - copy/paste fire of choice as new layer - position resizing if needed - hit delete again - drop shadow fire - selections - select none - drop shadow frame layer
3. Copy/paste the following elements as new layer resizing as needed : bubbles, flower of choice, heart ribbon of choice, key, sports car, and word art - arrange on your tag how you want - drop shadow each layer
4. Click on cityscape - copy/paste lock as new layer - resize and position towards the top left of cityscape - duplicate - image - flip - drop shadow both layers
5. On white background - copy/paste sparkle of choice as new layer - position on tag - duplicate - image - mirror - position
6. Close out white background - crop/resize tag and add copyright/license info and name - save as .png
That's it!! Thank you for trying my tutorial!!
Bada Bing
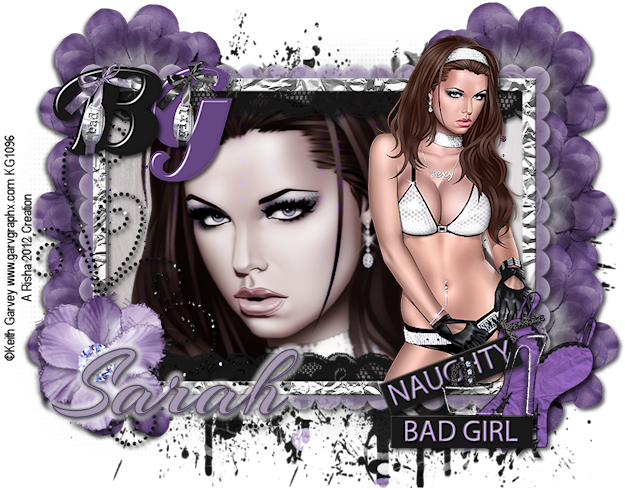
Bada Bing
This tutorial was written by me on September 9 using PSP X4. All my tutorials assume you have some working knowledge of PSP and/or Animation Shop.
Supplies:
Tube(s) - I'm using the art of Keith Garvey. You need a license to use his art which you can get at his store HERE.
Scrap Kit - I'm using a great PTU kit from Designs by Sarah called "Bada Bing". You can purchase this kit at PMTw/S.
Mask
Font - I'm using Arizonia
Filters - Xero Porcelain
To begin open tube(s) and mask in PSP - minimize for now
1. Open Frame 3 in PSP - shift+D to duplicate - close out original - canvas size 900 x 700 - new raster layer - flood fill white - move below frame
2. Click inside frame with magic wand - selections - modify - expand by 8 - copy/paste paper of choice as new layer - selections - invert - delete - copy/paste your tube as a new layer - position - delete - selections - select none
3. Duplicate your tube layer - on bottom layer change properties to Luminance (L) - on top layer - xero - porcelain - drop shadow your bottom tube layer and your frame layer
4. Copy/paste your tube again as new layer - position on tag - resize if necessary and drop shadow
5. Copy/paste any elements of your choice as new layers - resizing and positioning around your tag - I used bad word art, girl word art, naughty label, bad girl label, corset, and shoe - drop shadow each layer
6. Click on white background - copy/paste a flower of choice as new layer - resize and position behind your frame - duplicate 2 times and arrange (see my tag) - merge these layers together - duplicate - image - mirror - drop shadow both layers
7. Close out white background - crop/resize tag - add copyright/license info and name - save as .png
That's it! Thank you for trying my tutorial!!
Monday, September 3, 2012
PTU Tut: Wicked Babe
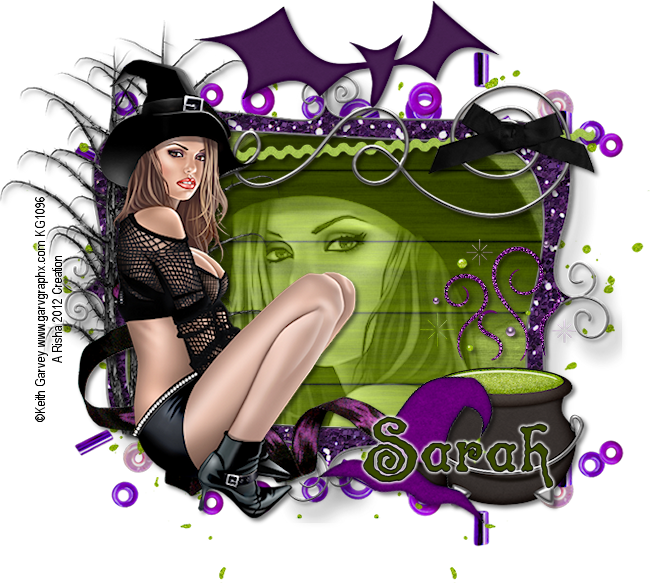
Wicked Babe
This tutorial was written by me on September 3 using PSP X4. All my tutorials assume you have some working knowledge of PSP and/or Animation Shop.
Supplies:
Tube of choice - I'm using the art of Keith Garvey. You must have a license to use his art which you can purchase at his store HERE.
Scrap Kit - I'm using Designs by Sarah's portion of the "Wicked Way" store collab from PMTw/S. You can purchase this great collab HERE.
Font - I'm using Spinstee
To begin open a new 700 x 700 image white background - open tube in PSP and minimize for now
1. Copy/paste frame 1 as new layer - resize - click inside with magic wand - selections - modify - expand by 6 - copy/paste paper of choice - selections - invert - delete - copy/paste tube - position and resize - delete - change properties to Luminance (L) and opacity to your choice - drop shadow tube and frame layers
2. Copy/paste tree as new layer - resize - position on left side of frame - drop shadow - c/p ribbon 2 as new layer - image - mirror - resize - position on left side of frame - drop shadow - copy/paste your tube as new layer - resize - position over ribbon - drop shadow
3. Copy/paste ribbon 1 as new layer - resize - iamge - mirror - position along top of frame - drop shadow
4. Copy/paste bat, cauldron, and witch's hat as new layers - resize and position on tag- drop shadow each layer
5. Click on white background - copy/paste beads as new layer - resize - position towards top of tag - duplicate - image - flip - drop shadow both layers
6. Copy/paste splatter of choice as new layer - resize - position on tag - duplicate - image - flip
7. Close out white background - crop/resize tag - add copyright/license info and name - save as .png
That's it!! Thank you for trying my tutorial!!
Tuesday, August 28, 2012
PTU Tut: Trick My Treat

Trick My Treat
This tutorial was written by me on August 28 using PSP X4. All my tutorials assume you have some working knowledge of PSP and/or Animation Shop.
Supplies:
Tube of choice - I'm using the newest tube from Keith Garvey. You must have a license to use his art. You can purchase his tubes/license at his store HERE.
Scrap Kit - I'm using an awesome kit from Irish Bitch Designs called "Witchypoo". Visit her blog HERE to find out where you can purchase this great kit
Mask of choice
Font - I'm using Spinstee
To begin open your tube and mask in PSP - minimize for now - open a new 700 x 700 image white background
1. Copy/paste frame3 as new layer - click inside frame - copy/paste paper of choice as new layer - selections - invert - delete - copy/paste your tube as new layer - position - hit delete - selections - select none - copy/paste your tube again as new layer - take eraser tool and remove the parts of tube hanging outside frame ( see my tag) - drop shadow bottom tube layer and frame
2. Copy/paste the following elements as new layers resizing as needed and position them around the bottom of your tag: bottle1, cat, cauldron, fire, pumpkin, shoe, and sign - add a dropshadow to each layer
3. Copy/paste hat of choice as new layer - resize and rotate - position on top of frame - drop shadow - copy/paste spiderweb as new layer - resize - position over sign - adjust sharpness sharpen
4. Click on white background - copy/paste paper of choice as new layer - layers - new mask layer - from image - apply - delete original mask layer - merge group - copy/paste stars as new layer - resize - position - duplicate - position - drop shadow stars layers
5. Copy/paste curls as new layer - resize and position on left of tag - duplicate - image - mirror - drop shadow both layers
6. Close out white background - crop/resize tag - add copyright/license info and name - save as .png
That's it!! Thank you for trying my tutorial!!
Monday, August 27, 2012
PTU Tutorial: Just A Treat

This tutorial was written by me on August 27 using PSP X4. All my tutorials assume you have some working knowledge of PSP and/or Animation Shop.
Supplies:
Tube of choice - I'm using the amazing art of Keith Garvey. You need a license to use his art and you can purchase tubes/license at his store HERE.
Scrap kit - I'm using a great kit by Gemini Creationz called " Every Witch Way". Visit her blog HERE to find out where to purchase this kit.
Template - I'm using Halloween Template 1 from Tracy F . You can download this template HERE.
Font - I'm using Jellyka Vampire Street
1. To begin open your tube in PSP - minimize - Open your template - Shift+D to duplicate - canvas size 800 x 600 - flood fill white - delete copyright, word art, bat and spider layers
2. Beginning with your mask layer - selections - select all - float - defloat - copy/paste paper of choice into selection - selections - select none
3. On circle 1 layer - selections - select all - float - defloat - copy/paste another paper as new layer - selections - invert - delete - select none - delete original layer - repeat for other layers except frame layer
4. On your frame layer - choose a gradient that matches your tag ( I chose a Halloween one) - selections - select all - float - defloat - layers - new raster - flood fill with gradient - select none - delete original frame layer - on flood fill layer - adjust - add/remove noise - setting your choice
5. Copy/paste your tube as a new layer - resize if needed - position under frame layer ( see my tag ) - erase parts of tube you don't want showing - drop shadow - duplicate - on original tube change properties to Luminance (L) - on duplicate layer change properties to soft light - drop shadow your frame layer
6. Copy/paste your tube again as new layer - position on tag - drop shadow
7. Copy/paste any other elements you would like resizing if needed - arrange on tag - drop shadow each layer
8. Close white background - crop/resize tag to your preference - add copyright/license info and name - save as .png
That's it!! Thank you for trying my tutorial!!
Thursday, August 23, 2012
PTU Tutorial - Push

Push
Supplies:
Tubes of choice (at least one laying down) - I'm using the beautiful ladies of Keith Garvey. You need a license to use his art. You can purchase tubes/license at his store HERE.
Scrap Kit - I'm using a great kit by Skulliez Skraps called "I Heart The '80s". You can purchase this kit at PMTw/S.
Template - I'm using a template by Linda from Creative Misfits. You can download this template HERE.
Mask
Font - I'm using Sweetly Broken
Filters - Xero Radiance and Porcelain, Eye Candy 4000 gradient glow
To begin open your tubes, mask, and template in PSP - minimize your tubes and mask - change canvas size of template to 800 x 675 flood fill white
1. On your template - delete credits - beginning with pink circles layer - selections - select all - float - defloat - copy/paste a paper of choice as new layer - selections - invert - hit delete on keyboard - select none - rename this layer "pink" circles - repeat for your other template layers renaming each one as the original layer as you go - delete original layers
2. On your shapes layer - selections - select all - float - defloat - copy/paste 3 of your tubes as new layer - resize each one - position one to each shape - selections - invert - delete - selections -select none - click on your first tube - using your eraser remove any parts of the tube that are in the other frames - repeat for each tube - drop shadow - merge your tubes together - duplicate - on bottom tube layer - effects - plugins - Xero Radiance - on top tube layer - change properties to screen
3. On frameback layer - selections - select all - float - defloat - copy/paste 3 more tubes as new layers - selections - invert - delete - select none - with eraser remove the parts that overlap - duplicate this layer - effects - plugins - Xero Porcelain - on top tube layer - change properties to Luminance (L)
4. Copy/paste any elements of choice as new layers - resizing and arranging on tag to your preference - drop shadow each layer - copy/paste main tube as new layer - resize - position - drop shadow - on your shapes, circle, and oval layers add a slight gradient glow color of choice ( I used black) - drop shadow your frames layer
5. On white background - copy/paste a paper of choice as new layer - layers - new mask layer - from image - apply - delete original mask - merge group
6. Close out white background - crop/resize tag to preference - add copyright/license info and name - save as .png
That's it! Thank you for trying my tutorial!!
Sunday, August 12, 2012
PTU: New Cluster Frames + Snags
2 New Cluster Frames + Snags using The Avenue scrap kit from Jackie's Jewels. Visit her blog HERE to find out where you can get this gorgeous kit and her other amazing creations. You can download these cluster frames by clicking on the link beneath the previews.
Previews:


Snags
Just click the tag to open full size/right click to save as


Subscribe to:
Posts (Atom)
About Me

- Risha
- Vernon, Florida, United States
- Hello! I'm a SAHM of 2 beautiful children Wyatt & Caitlyn and have been married to my wonderful husband Everett for 9 years. I live in a small town in NW Florida and am owned by several miniature dachshunds. I've been PSPing for 7 years now and just now decided to put my tags into tutorial form. When I'm not busy taking care of my various animals which not only is dachshunds, but includes various types of fowl and poultry I am playing with my kids or at my computer.
Licensing


